Connect Your Crypto Wallet to OneVest Exchange
Install a wallet, connect it securely, and start trading crypto, NFTs, and DeFi on OneVest Exchange.
Step 1: Wallet Not Installed
Install Your Wallet
No crypto wallet detected. To start investing securely, please install a wallet compatible with OneVest Exchange.
Step 2: Connect Your Wallet
Choose the wallet you want to use with OneVest Exchange. Click Connect with MetaMask or Connect with Phantom to link your browser wallet, or click Connect with WalletConnect to open a QR code modal and connect a mobile wallet. Once your wallet is connected, you’ll be ready to fund it and continue with your lessons safely.

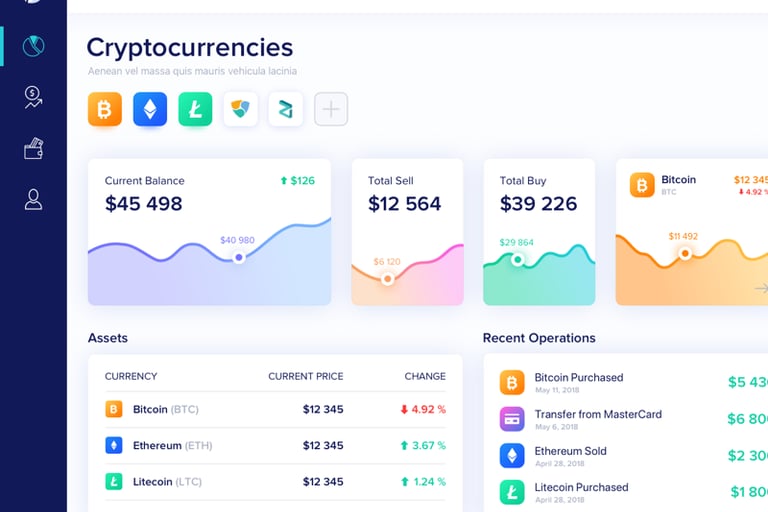
Step 3: Invest and Grow Securely
Start exploring DeFi opportunities, grow your NFT collections, and manage your crypto portfolio with the security of OneVest Exchange.
Test Your Wallet
Step 5: Complete Your First Swap


Now that your wallet is funded with test tokens, you can practice swapping tokens on a testnet DEX like Raydium Devnet or Goerli DEX. This lets you experience a real trade without risking actual funds.
Step 4: Test Your Wallet with a Practice Transaction
Why use a Faucet?
A faucet gives you free test crypto (not real money) to practice with. This lets you safely learn how to send and receive tokens before using real funds. Just claim test ETH or SOL from the faucet, then try sending a small amount to your own wallet to see how transactions work.
Empowering secure digital investments.
© 2025. All rights reserved.